Soldering Iron Kit
Soldering Iron Kit
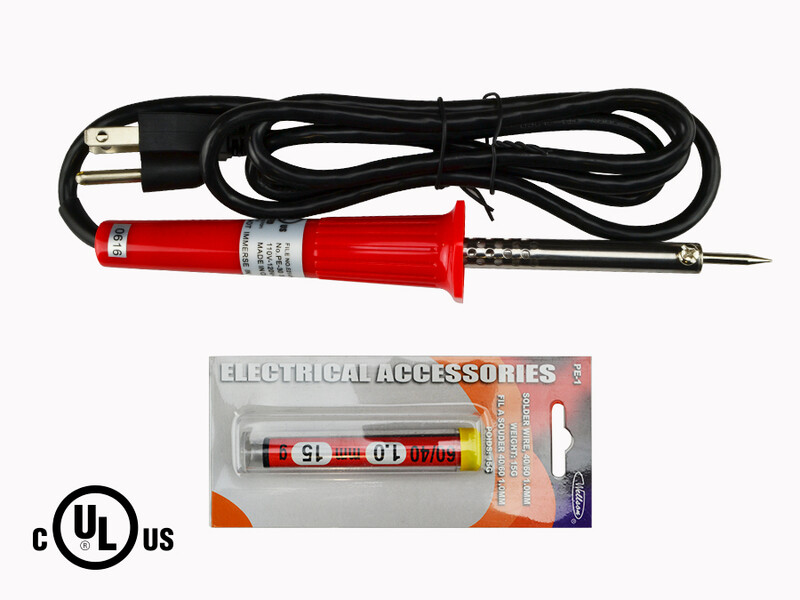
Give your RGB or Single Color LED Strip Project with the Electric Soldering Kit from LED Montreal. This soldering kit is an easy and economical way for the intermediate or expert handyman to install a LED Strip kit without having to use connectors.
This convenient and affordable kit includes:
- A cUL Listed 30W electrical soldering iron with stand
- 15g of 1.0mm soldering wire.
PLEASE READ AND COMPLY WITH ALL INSTRUCTIONS AND WARNINGS LISTED ON THE BACK OF THE PACKAGE BEFORE USING YOUR SOLDERING KIT.
It’s easy to install wiring on your LED Strip in order to make a custom length extension to bypass obstacles or make corner connection.
Prepare your LED Strip by exposing and cleaning the copper connectors.
Skin your connection wire by about 3mm and twist the exposed wire
Install your soldering iron on the provided stand and let it heat up for about 3 minutes
Apply the tip of the iron on the copper connector of the Strip and add soldering wire to the surface. The wire will melt and stick to the copper connector. Remove the iron from the surface and repeat on other connectors.
Do the same procedure on your exposed wire located on the extension.
Once both the strip connector and the wire have soldering wire on them, join the connector and the wire together and slightly press them together with the hot iron. The soldering wire will melt and join the connector and the extension wire into a solid and reliable connection. Make sure that you respect the polarity. Clean the tip of your iron using a special cleaning pad.
Once you are done soldering, we recommend adding heat shrink tube on top of your connection to give your project the OEM look.
For more information about soldering LED strips please do a search on Youtube.com
https://www.youtube.com/results?search_query=how+to+solder+led+strips

