How to install your under awning LED strips
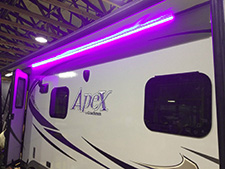
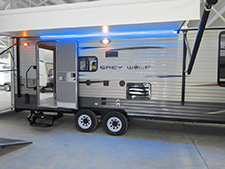
LED Montreal offers you a great number of products that can be used in various setups and situations. One very popular use is putting LED strips under your awning. LED strips are the perfect solution for under awning lighting because they’re easy to manipulate and install, very versatile, eco-friendly and they can provide lighting for a wide area.
First things first, you need to choose which LED Strip you’re going to install. For any outdoor use, we highly recommend using one of the ip67 LED Strips. Mixing the energy and money saving features of the LED strips with the water protection required for this type of setup, they are the best option for your exterior lighting needs. They’re especially great for your camper, R.V., house, cottage, boat or any similar outdoor use. Unlike the regular ip65 LED Strips that are waterproof on 3 sides, the ip67 LED Strips are encased in a thick clear tube so they are completely waterproof. Please note only the Strip is waterproof. The connectors on each end of the Strip, the controller as well as the remote must not come in contact with humidity or liquids since they are not waterproof, so please make sure that your properly protect these parts from humidity.
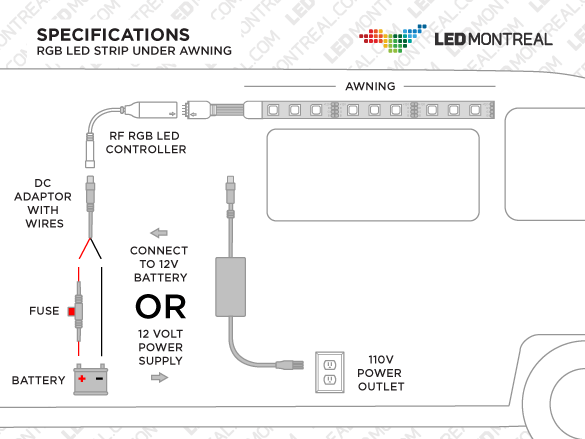
So, now let's install your strips! Depending on your setup, you'll need to choose your power source. You can use your plug in transformer to connect directly to a regular power plug, a lot of the times it's the simplest way to go. If you are looking to install it to your RV or boat, you might want to get power directly from your vehicle's battery. In that case, you will need to protect your circuit with a fuse, but you won't need a plug in transformer. When looking at the Multi Flex RGB Strip Kits or Multi Flex Single Color Strip Kits you can select "No transformer" in the Power Source drop down menu.
Depending on your setup, you might need to extend your wiring between your power source and your controller. You can use DC and/or RGB extensions to do so (you can find them in the Accessories Section). Make sure you calculate the distance between every element of your circuit.
Now let's choose a controller. You might only want an on-off switch, which is pretty basic, but there's a good chance you will need a controller with remote. For this type of use, we strongly recommend RF (radio frequencies) controllers as they don't require you to point at them with the remote in order to work properly (as opposed to IR controllers). That way, you don't need to worry about where you put it, you can easily hide it, as long as it's within its working radius. Need more room between your controller and the strip? You can use the RGB wire to extend (you can find them in the Accessories Section).
Now let's install your strip(s)! Like we said before, make sure your connectors are well protected from water, as they are not waterproof. Install your strips with GE Pure Silicone and Double sided 3M tape and you are good to go. If you require to cut the strips, connect them together, separate them with wire or any other similar modification, please read our page on How to cut and reconnect LED strips using solderless connectors.

